


Take the “Ew!” Out Of Sewing Amigurumi Parts
Free Printable Guide!


Browse by Difficulty:
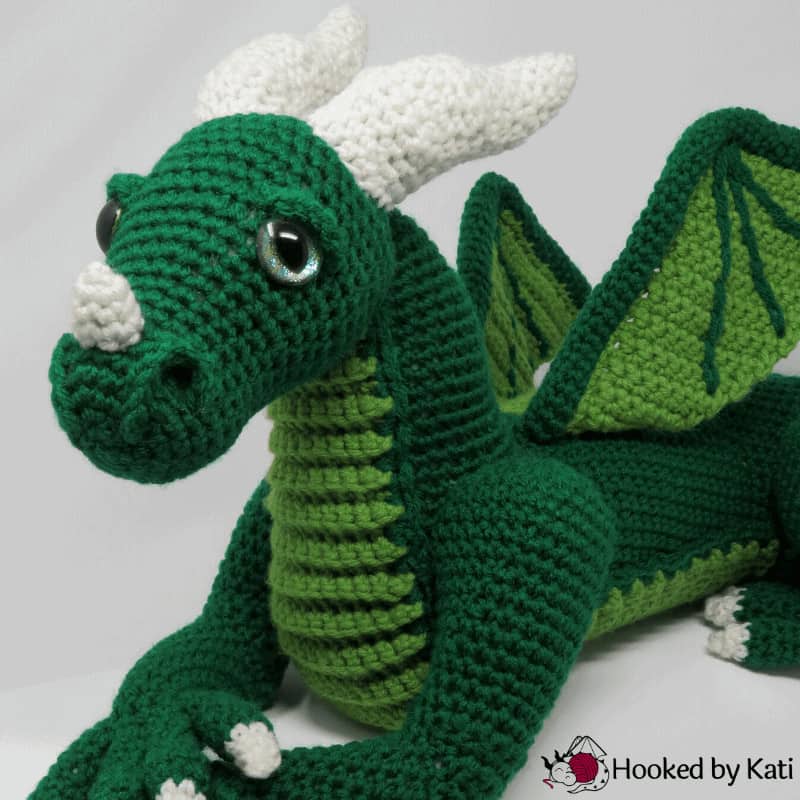
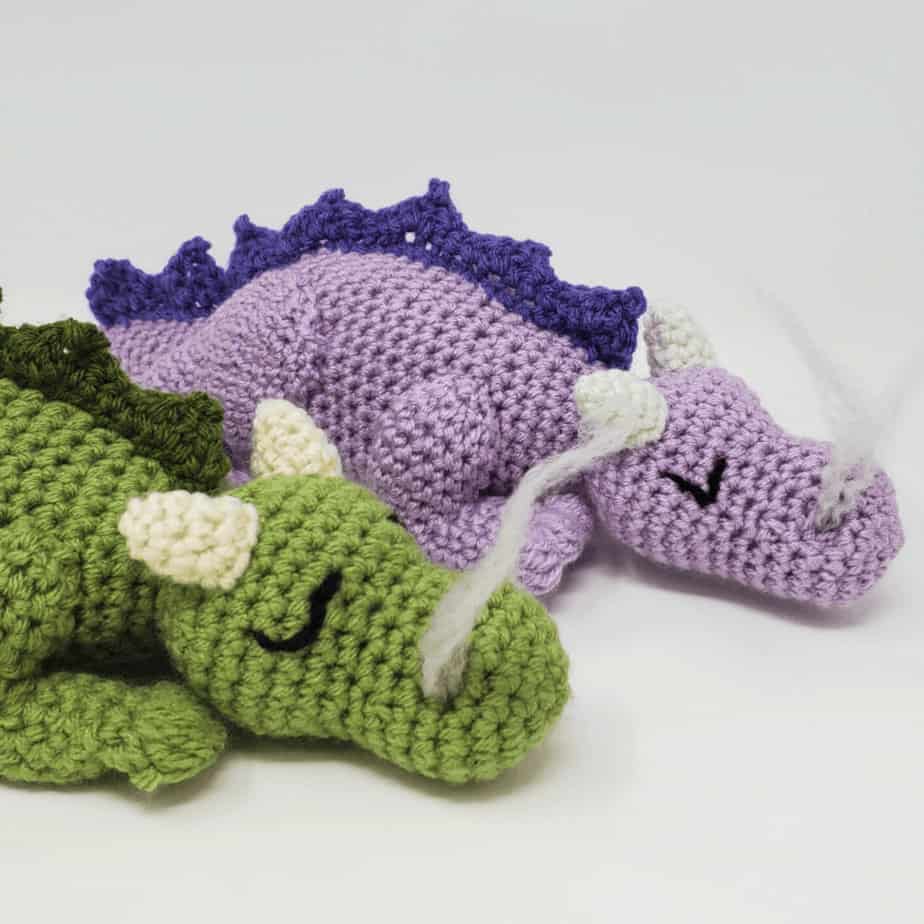
Meet the Dragons!


Hello! I’m Kati.
I’m a professional amigurumi designer and voice behind Hooked by Kati. I pride myself in writing innovative patterns that are easy for crochet artists to follow. On this site, you will find patterns, videos, and articles to help you develop your mastery of this wonderful art form we share. Yarn on!
Can you see plushies in your mind, but you can’t make them come to life in yarn?
Then my online course, Next-Level Amigurumi Design, might be for you. Get more information about this ground-breaking design course and how you can be notified next time the doors are open.


